Step by Step Guide on How to Install Carpet Like a Pro
Installing carpet can transform the look and feel of a room, providing warmth, comfort, and a touch of elegance. While it may seem daunting, with the right tools and guidance, you can lay carpet yourself. Whether you're a DIY expert or a first-timer, this guide will assist you in transforming your space with your new carpet.
Can You Lay Carpet Yourself?
Absolutely! Laying carpet yourself is a feasible DIY project. It requires patience, precision, and some physical effort, but with careful planning and attention to detail, you can achieve professional-looking results while staying within budget.
Understanding how to install carpet is not just about the physical act of laying the carpet down; it also involves preparation of the surface, choosing the right tools, and knowing the techniques for cutting and fitting the carpet.

How Often Should You Replace Carpet?
The lifespan of a carpet depends on its quality, usage, and maintenance. On average, carpets should be replaced every 5 to 15 years. However, high-traffic areas may need more frequent replacements. When considering a replacement, understanding how to install carpet is an important aspect of ensuring longevity and maintaining aesthetic appeal.
Regular cleaning and avoiding prolonged exposure to sunlight can also prolong a carpet's life. When it comes time for a replacement, choosing the right type of carpet and proper carpet installation techniques are key to ensuring it can withstand regular use and maintain its appearance over time.
Should You Install Baseboards Before or After Carpet?
It's generally recommended to install baseboards before laying the carpet. Doing so enables the carpet edges to be neatly tucked underneath the baseboards. This method not only creates a cleaner and more professional finish but also helps in protecting the edges of the carpet from wear and tear.
Additionally, installing baseboards first can prevent the carpet from fraying or pulling away at the edges, ensuring a more durable and aesthetically pleasing result. This approach simplifies the carpet installation process and enhances the overall appearance and longevity of your carpeting.
Looking for a FREE Quote?
Our Dumpster Consultants are waiting to help you find an affordable solution to your waste disposal needs; we can't wait to help you with your project!
Tools and Materials Needed
- Carpet
- Tackless strips
- Carpet padding
- Utility knife
- Staple gun
- Hammer
- Measuring tape
- Knee kicker
- Carpet stretcher (power stretcher)
- Seaming tape and iron
- Wall trimmer
Step-by-Step Guide to Carpet Installation
1. Preparing the Room
If replacing an existing carpet, remove it along with the padding underneath. Ensure the floor is clean and smooth. Install Baseboards: If not already present, install baseboards around the room. This will give you a boundary to tuck the carpet edges into.
Measure the room accurately to determine how much carpet and padding you need. Always buy a little extra to account for mistakes or irregularities.
2. Installing Tackless Strips
Lay tackless strips along the perimeter of the room, leaving a gap of about ½ inch between the strips and the wall. Ensure the pins on the strips angle towards the wall.
3. Laying the Carpet Padding
Cut the padding to fit inside the tackless strip perimeter. The padding should not overlap the strips. Staple the padding down along the inside edge of the tackless strips.
4. Cutting the Carpet
Roll out the carpet in a clean, open area. Measure and cut the carpet according to the room's dimensions, allowing a few extra inches on each side for trimming.
5. Lay the Carpet
Roll out the carpet in the room, ensuring it overhangs evenly on all sides. Trim any excess carpet at the corners to make it easier to manage. Using the knee kicker, anchor one side of the carpet onto the tackless strips. The teeth of the knee kicker should grip the carpet about 1 inch from the wall.
Use the power stretcher to stretch the carpet across the room to the opposite set of tackless strips. This step is crucial for avoiding wrinkles and ensuring a tight fit.
6. Seaming (for Multiple Pieces)
If your room requires more than one piece of carpet, you'll need to seam them together. Use seaming tape underneath the joint and a seaming iron to heat the tape, joining the pieces securely.
7. Trimming and Finishing
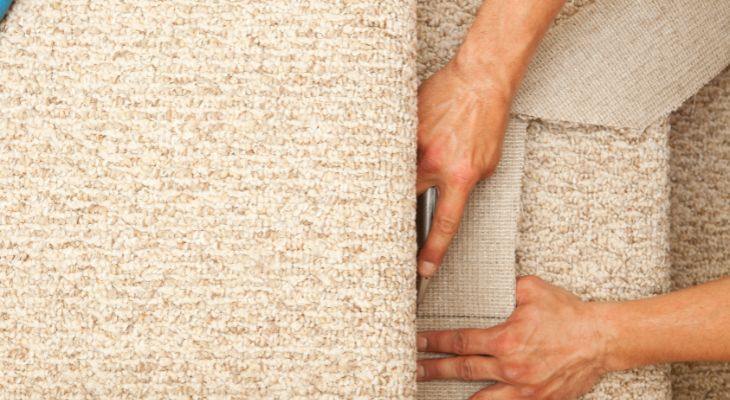
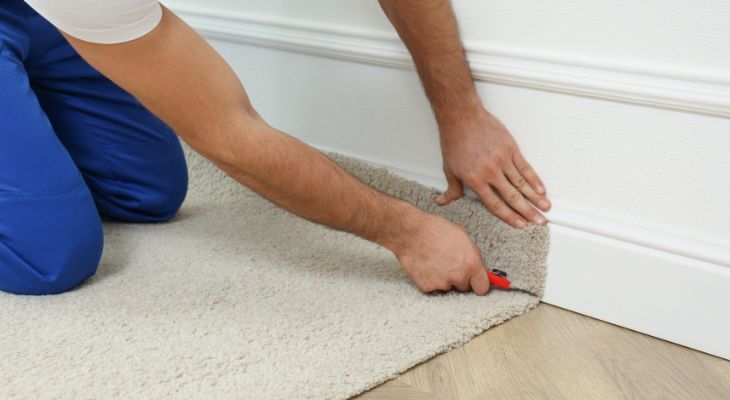
Use a wall trimmer to cut the excess carpet along the walls. The carpet should fit snugly against the baseboards. Tuck the edges of the carpet into the gap between the tackless strips and the wall, creating a clean, finished look.

Tips for Success
- Take Your Time: Don't rush the process. Precision is key in carpet installation.
- Keep Tools Handy: Having the right tools at your disposal can make the job much smoother.
- Seek Help for Large Rooms: For larger rooms, consider getting an extra pair of hands to help with stretching and laying the carpet.
Get Started on Your Carpet Installation
Installing a carpet on your own can be a rewarding DIY project. By following these steps and paying attention to detail, you can achieve a professional-looking carpet installation that enhances the comfort and aesthetic of your space. Remember, regular maintenance and proper care will extend the life of your new carpet, making your effort well worth it in the long run.
Related Blog Posts
- Revive Your Home for Spring with This Spring Home Maintenance Checklist
- 10 New Home Trends That Will Make Your Friends Jealous
- How Our Dumpsters Support Realtors and Property Managers: A Comprehensive Guide
- 12 Jaw-Dropping Clutter Statistics That Will Make You Want to Declutter Today!
- Unlocking Space: The Complete Guide on Pocket Door Installation
- Step by Step Guide on How to Install Carpet Like a Pro


