Unlocking Space: The Complete Guide on Pocket Door Installation
In the modern world where space is at a premium, pocket doors have become a popular choice for both residential and commercial properties. The elegance and space-saving features of a sliding pocket door make it an ideal option for those looking to maximize their interior space.
This comprehensive guide aims to provide you with detailed insights on pocket door installation, addressing common queries like how to install a pocket door in an existing wall, the feasibility of installation in a 2x4 wall, and the potential disadvantages of pocket doors.
Understanding Pocket Door Installation
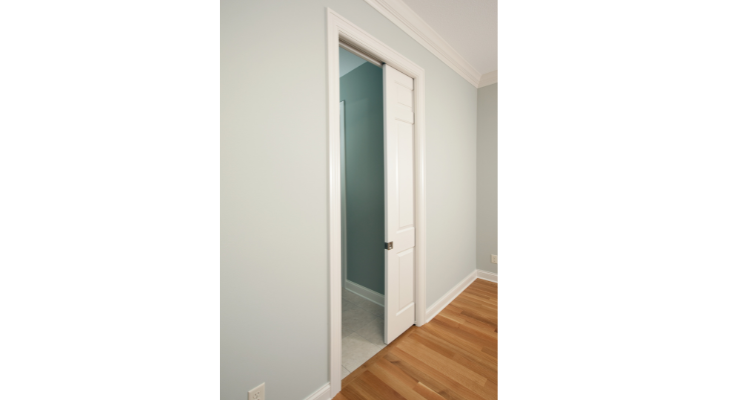
Pocket door installation is a process that involves creating a space within the wall for the door to slide into when opened. Unlike traditional hinged doors, a sliding pocket door disappears into a compartment in the adjacent wall, thereby saving valuable floor and wall space.
This feature makes them particularly useful in tight areas or in rooms where a swinging door would be impractical. Additionally, the seamless integration of pocket doors into wall cavities allows for a more streamlined and unobstructed aesthetic, enhancing the overall design and functionality of the space.

Can You Install a Pocket Door in an Existing Wall?
One of the most common questions regarding how to install a pocket door revolves around the feasibility of installing it in an existing wall. The answer is yes, you can install a pocket door in an existing wall, but it requires careful planning and precision.
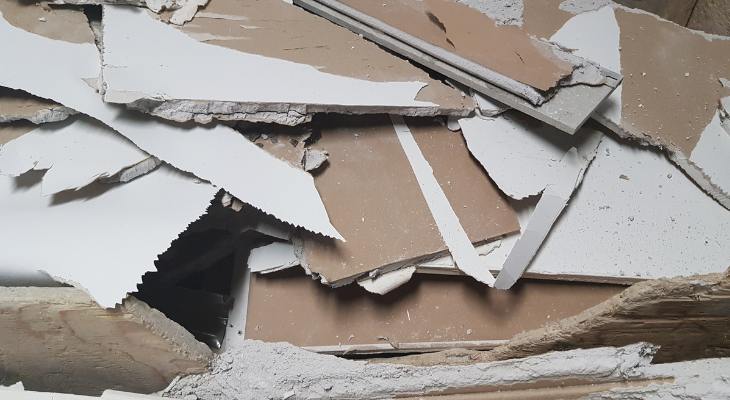
The process involves removing a portion of the wall to create space for the door pocket. This demolition will inevitably result in a significant amount of debris, including chunks of drywall and old framing materials. Considering this, it's advisable to plan for construction cleanup by booking a dumpster rental. Having a dumpster on-site will facilitate efficient and easy cleanup, ensuring that the work area remains safe and uncluttered.
This task can be more challenging in load-bearing walls or walls with electrical wiring and plumbing. Therefore, it is often recommended to consult a professional to assess the viability and to ensure a safe installation.
Installing Pocket Door in a 2x4 Wall
Another frequent inquiry is whether a pocket door can be installed in a 2x4 wall. It is indeed possible to install a pocket door in a 2x4 wall, but there are considerations to be made. The standard thickness of a pocket door frame is designed to fit into a 2x6 wall.
Therefore, when installing in a 2x4 wall, one must either use a thinner door or build out the wall to accommodate the standard pocket door hardware. This may involve additional construction work but is entirely achievable with the right approach and tools.

Step-by-Step Guide on How to Install a Pocket Door
1. Preparation
The initial step in pocket door installation involves careful planning and assessment. Start by determining the ideal location and size for your pocket door. This is crucial as it dictates the amount of space needed within the wall. Use a stud finder to locate studs and ensure there are no obstructions like electrical wiring, plumbing, or HVAC ducts in the area where the pocket will be created. If any such obstructions are found, you may need to relocate them or reconsider the door's placement.
2. Framing the Wall
For an existing wall, the process involves more complexity. Carefully mark and cut out the required section of the wall. This usually means removing drywall and possibly some studs, followed by creating a new framed opening for the pocket door. In new construction, frame the wall according to the size specifications of the pocket door kit. Ensure that the framing is sturdy and square, as this will support the door and its mechanisms.
3. Installing the Pocket Door Frame
After preparing the opening, the next step is to install the pocket door frame. This frame is a crucial component as it houses the door when it is open. Position the frame in the prepared space, making sure it is perfectly level and plumb. Use shims where necessary to achieve the correct alignment. Secure the frame to the surrounding studs using screws or nails as specified by the frame manufacturer. Double-check the frame's alignment after securing it, as any misalignment can cause issues with the door's operation.
4. Adding the Door
With the frame in place, it's time to hang the sliding pocket door. Start by attaching the hanging hardware to the top of the door. Lift the door and carefully place the rollers into the track on the frame. Ensure the door slides smoothly back and forth in the track. If any adjustments are needed, use the adjustment screws on the rollers to align the door properly within the frame. Check the door's operation several times to ensure it moves freely and doesn't rub or stick against the frame.
5. Finishing Touches
The final step is to complete the wall finishes around the new pocket door. This might involve installing drywall, plaster, or other wall finishes to seamlessly integrate the pocket door frame into the existing wall. Once the wall finish is complete, you can add trim around the door to match the existing style of the room. Lastly, apply paint, wallpaper, or other finishes as desired to blend the new installation with the room's overall aesthetic. Remember to also install any door handles, locks, or pulls according to your design preferences and functional needs.
Looking for a FREE Quote?
Our Dumpster Consultants are waiting to help you find an affordable solution to your waste disposal needs; we can't wait to help you with your project!
Disadvantages of Pocket Doors
While pocket doors offer numerous advantages, they do come with certain disadvantages:
Maintenance: Sliding pocket doors may require more maintenance than traditional doors, especially in their tracking systems and hardware.
Sound Insulation: Due to their design, pocket doors do not seal as tightly as conventional doors, which can result in less effective sound insulation.
Installation Complexity: The process of installing a pocket door, especially in an existing wall, can be more complex and time-consuming than installing a standard door.
Limitations in Hardware and Locking Mechanisms: Pocket doors often have limited options when it comes to hardware and locking mechanisms, which can be a concern for those seeking high levels of security.
Start Your Pocket Door Installation Today!
Pocket door installation offers an innovative solution to space constraints, adding both functionality and aesthetic appeal to any room. Whether you are renovating an existing space or building a new one, understanding how to install a pocket door is essential.
By considering the structural requirements and potential limitations, one can effectively incorporate sliding pocket doors into their design, unlocking space and adding a modern touch to their interiors. Remember, while the process might seem daunting, the space-saving benefits and sleek look of a pocket door can be well worth the effort.
Related Blog Posts
- Revive Your Home for Spring with This Spring Home Maintenance Checklist
- 10 New Home Trends That Will Make Your Friends Jealous
- How Our Dumpsters Support Realtors and Property Managers: A Comprehensive Guide
- 12 Jaw-Dropping Clutter Statistics That Will Make You Want to Declutter Today!
- Unlocking Space: The Complete Guide on Pocket Door Installation
- Step by Step Guide on How to Install Carpet Like a Pro


